
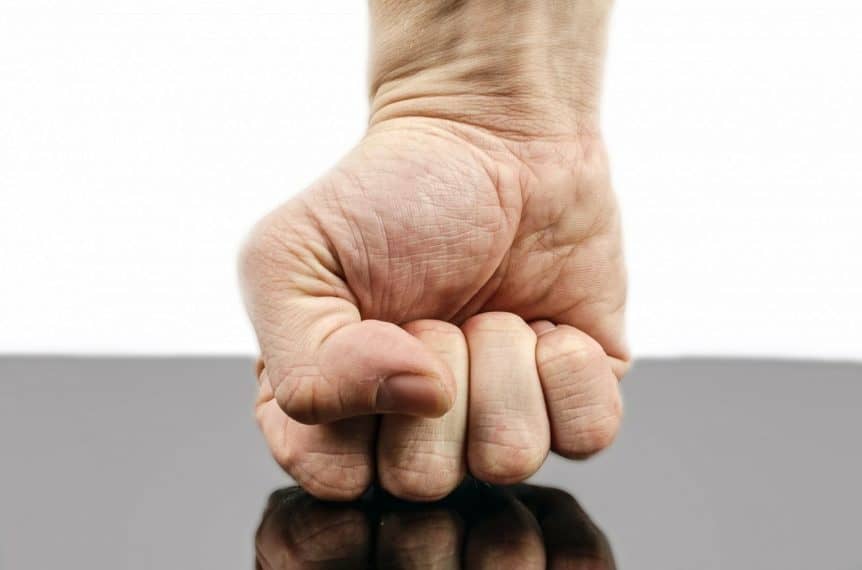

Hand conditioning for taekwondo and other martial arts means gradually making your hands, wrists and fingers stronger and more resilient so you can punch and strike without getting hurt. The safe way is slow and steady: good fist technique, grip and wrist strength, push-up progressions such as knuckle push-ups, and controlled pad and bag work with wraps or gloves. Punching hard objects, ice or a bag with bare hands before you are ready is how injuries happen. This guide covers why hand conditioning matters in taekwondo, a step-by-step plan, and what to avoid.
| Goal | Stronger knuckles, wrists, fingers and grip for safe punching |
|---|---|
| Start with | Correct fist and straight wrist, then mobility and grip strength |
| Key exercises | Wrist curls, grip work, farmer’s carries, hangs, knuckle push-ups |
| Impact work | Pads and bags with wraps or gloves, building up slowly |
| Avoid | Hitting walls, concrete, ice or hard objects; training through pain |
| Kids and teens | Strength and technique only; no hard impact conditioning |
Note
This is general information, not medical advice. Stop if you feel sharp pain, numbness or swelling, and see a doctor about any hand or wrist injury before you keep training.
Why it matters
Do you use your hands in taekwondo?
Yes. Taekwondo is known for its kicks, but every style teaches punches, knife-hand and palm strikes, blocks and board breaking. In World Taekwondo sparring a punch to the body protector scores a point, and in ITF sparring punches to the head are allowed. Well-conditioned hands let you strike and block with confidence and reduce the risk of sprained wrists and bruised or broken knuckles. See taekwondo punches and strikes and taekwondo blocks.
Step 1
Make a correct fist first
No amount of conditioning protects a badly formed fist. Get this right before you add impact.
- Roll the fingers in tightly and lock the thumb across the middle of the index and middle fingers, never tucked inside.
- Strike with the first two knuckles (index and middle). They line up with the forearm bones and take impact best.
- Keep the wrist straight, in line with the forearm. A bent wrist is the most common cause of punching injuries.
- Turn the fist over at the end of a straight punch so the two knuckles meet the target flat.
- Relax until impact, then tighten the fist as you make contact.
Step 2
Mobility: hand and wrist warm-up
A few minutes before every session prepares the joints and tendons.
- Open and close: spread the fingers wide, then make a fist, 10 to 20 times with the arms in front, to the sides and overhead.
- Wrist circles: roll the wrists slowly in both directions, then move them up, down and side to side.
- Gentle stretches: pull the fingers back and then forward for 10 to 20 seconds each, and ease the thumb back gently. Never force a stretch.
Step 3
Strength: wrist, grip and finger exercises
Strong forearms and grip support the wrist on impact. Two or three short sessions a week are enough.
| Exercise | What it builds | How |
|---|---|---|
| Wrist curls and reverse curls | Wrist stability | Light dumbbell, forearm on your thigh, slow curls up and down; 2 to 3 sets of 12 to 15 |
| Farmer’s carries | Grip, forearms | Walk holding heavy dumbbells or kettlebells at your sides for 20 to 40 meters |
| Dead hangs | Grip, hands | Hang from a pull-up bar for 15 to 45 seconds |
| Pull-ups and rows | Grip, back and arms | Bar or dumbbell versions as part of your strength routine |
| Rice bucket | Fingers, grip, wrists | Push your hands into a bucket of rice and open, close and twist them for 1 to 2 minutes |
| Band finger extensions | Finger balance | Rubber band around the fingertips; spread the fingers against it for 15 to 20 reps |
See strength training for taekwondo for a full routine.
Step 4
Knuckle push-ups and other push-up progressions
Push-ups build the chest, shoulders and arms and, on the knuckles, teach the wrist to stay straight under load. Progress slowly:
- Level 1, regular push-ups on flat hands until you can do 15 to 20 with good form.
- Level 2, knuckle push-ups on a mat or folded towel: rest on the first two knuckles of each hand, wrists straight, body in a straight line. Start with a few reps.
- Level 3, knuckle push-ups on a firmer surface, such as a thin mat or wood floor, only once the soft version is comfortable.
- Level 4, fingertip push-ups (advanced): start on the knees or against a wall, with all five fingers spread.
Tip
Pain in the knuckles that lasts after training means you progressed too fast. Go back to a softer surface or fewer reps for a week or two.
Step 5
Impact training: pads and bags

Repeated, controlled impact is what toughens the hands over time. Build it up the same way you build any other training load.
- Start on focus mitts and kicking shields held by a partner, at light to medium power.
- Move to a heavy bag with hand wraps and bag gloves. Wraps support the wrist and knuckles.
- Build volume slowly: add a round or a little more power each week, not all at once.
- Bare-knuckle bag work is for experienced adults only, if at all, and only for short, light rounds once the hands are well conditioned.
- Board breaking should be supervised by your instructor and start with easy breaks. See taekwondo board breaking.
What to avoid
How not to condition your hands
- Punching walls, concrete, metal, trees or ice. These cause cuts and fractures, not conditioning.
- Bare-knuckle bag work too early, especially on a hard sandbag.
- Training through pain, swelling or numbness.
- Doing too much too soon: large jumps in reps or power are the main cause of overuse injuries.
- Hard impact conditioning for children and teens: growing bones are more easily hurt. Young students should focus on technique and general strength.
Plan
A simple weekly hand conditioning plan
| When | What to do |
|---|---|
| Before every class | Hand and wrist mobility, 3 to 5 minutes |
| 2 to 3 days a week | Wrist curls, grip work and push-up progressions, 10 to 15 minutes |
| In class | Correct fist and straight wrist on every punch; pad work with control |
| 1 to 2 days a week | Bag work with wraps and gloves, adding a little each week |
| Rest days | Let sore knuckles and wrists recover fully |
For the rest of your training, see warm-up exercises and what beginners learn first.
FAQ
Frequently asked questions
How do you condition your hands for martial arts?
Learn a correct fist and straight wrist, warm up the hands and wrists, build grip and wrist strength, progress through knuckle push-ups, and add controlled pad and bag work with wraps or gloves, increasing slowly over weeks and months.
Do knuckle push-ups condition your hands?
They help: they strengthen the wrists and teach you to keep them straight on the first two knuckles. Start on a mat or towel and move to firmer surfaces gradually.
How long does hand conditioning take?
Strength and technique improve within weeks, but toughening the hands for harder impact takes months of gradual, regular training.
Is it safe to punch a bag without gloves?
Not for beginners. Use hand wraps and bag gloves. Experienced adults may do short, light bare-knuckle rounds once their hands are well conditioned, but it always carries more risk.
Can you use your hands in taekwondo?
Yes. Taekwondo teaches punches, strikes and blocks. In World Taekwondo sparring punches score to the body protector, and ITF sparring also allows punches to the head.
Should kids do hand conditioning?
Children and teens should focus on correct technique, general strength and pad work, and skip hard impact conditioning while their bones are still growing.
The short version
Condition your hands gradually: master a correct fist and straight wrist, warm up, build wrist and grip strength, progress through knuckle push-ups, and add pad and bag work with wraps and gloves a little at a time. Never punch walls or hard objects, stop if it hurts, and keep kids to technique and strength work.